Food waste reduction: going bananas!
Food waste is a painful part of everyday life for me – and so many other people around me. We order or buy fixed quantities of what we think we’ll use, but it’s actually really hard to predict the exact amounts that we’ll use in the end. And then – due to a combination of a lack of time, imagination, and pure habit – we end up throwing away uneaten food on a daily basis.
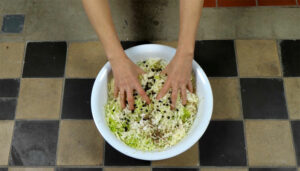
I’m no exception to these bad habits. Some of the products I buy are poor quality and go to waste before being eaten, while others are better quality but sit too long in the fridge and get overlooked. However, the good news is that it doesn’t have to be this way! Food waste reduction is easy and fun.
There are a few habits I’ve incorporated into my daily practice in the kitchen that I can highly recommend.
First up, with any bread that starts to go stale or dry, I chop it up into small cubes, then I dry them out in the oven. It takes just a minute or two! These little cubes form the base for savoury knödel delights, which make an appearance in my kitchen on a regular basis. In fact, one of my kids’ favourites is the delicious, doughy south Tyrolean spinatknödel (feel free to get in touch with me for this wonderful food waste reduction recipe).
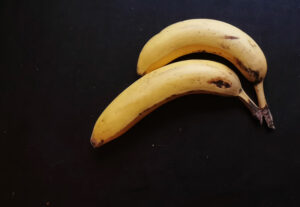 Second, let’s go back to the title of this blog: going bananas! Bananas are a precious fruit, but when they start to go brown, no-one in my family will touch them. I used to get worried when this happened – I’m not a fan of banana bread! Now, instead of feeling worried about the food waste, I feel excited because I adore the fermented banana recipe I’ve recently discovered.
I’d love to share it with you…
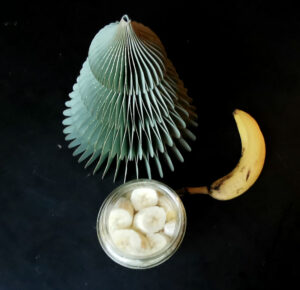
- Take a 500ml glass jar and fill it with 250ml filtered water.
- Then dissolve 2 tablespoons of cane sugar into the water.
- Next, add 2 tablespoons of whey (molke in German), water kefir, or the powder from one probiotic capsule.
- Chop 2 ripe bananas into 2cm slices and add them to the liquid.
- Close the jar lid and let it sit in a warm, dark place for 2-4 days.
- After this time has passed, check the taste and when it seems ready, move it to the fridge.
- Once fully chilled, this fermented mixture keeps for more than a week.
What I find so thrilling about the outcome of this amazing food waste reduction recipe is the sour, fresh, sparkly character of the drink – in combination with the calming taste of this spectacular fruit.
I like to blitz it in the morning and drink it as beautifully refreshing breakfast. I love the fizzing feeling that spreads throughout my entire body as I sip it. Plus, I have to say that it makes an excellent base for cocktail experiments…
long live living cocktails! Prost!
And it’s not just about bananas and breakfast and cocktails. For example, the fruit skins and vegetable peelings that I used to throw away now get used as a starter for homemade vinegar or cleaning products. The same goes for that tired cucumber or beetroot forgotten at the back of the fridge.
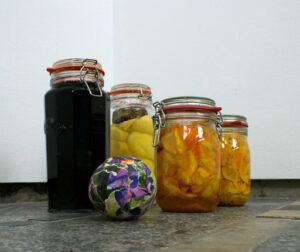 Plus, pickled or fermented foods are natural super foods that have healing qualities and can be eaten without any cooking involved. This makes them the perfect lunch at work combined with simple warm ingredients such as boiled potatoes, rice, or other grains. And, as they’re already prepared and seasoned, having a jar in my fridge saves me time and energy on a daily basis.
Ultimately, I guess it’s this turn from guilt and concern to excitement and curiosity that has really gotten me hooked on fermentation processes as food waste reduction. The truly great thing about fermenting, is that – once the raw ingredients have been chopped up and prepared – time does all the work and I only need to check in occasionally (like saying hi to a friend!) until it’s ready. So, let me know how you get on with this fermentation recipe. I hope you enjoy!
Food waste reduction: going bananas! Read More »
